
AbleSet
Redundant Audio Interfaces
AbleSet supports a variety of redundant audio interfaces from different manufacturers:
- iConnectivity: PlayAUDIO12, PlayAUDIO1U, and PlayAUDIO2U
- DirectOut: EXBOX.MD, PRODIGY (MC, MP, MX), MAVEN.A
- DAD: Core256, AX64, AX Center
These interfaces are automatically detected when they're connected to your computer via USB (iConnectivity) or the network (DirectOut/DAD) and will appear in AbleSet so you can view their state and control them.
You can also control connected audio interfaces via OSC. See here for a list of supported commands.
Redundant Audio Interfaces With AbleNet
When using redundant audio interfaces with AbleNet, you can specify which computer is connected to which port or "scene" on your audio interface. This gives the of AbleSet a distinct look so you can easily see if you're currently viewing the main or backup computer.


With this assignment set up, you can also tell AbleSet to automatically switch the browser over to the computer that is currently active on your redundant interface. This allows you to always see the state of the computer that is actually sending audio to your PA system.
To do this, enable the "Follow Current Audio Interface Scene" option in your AbleNet settings:
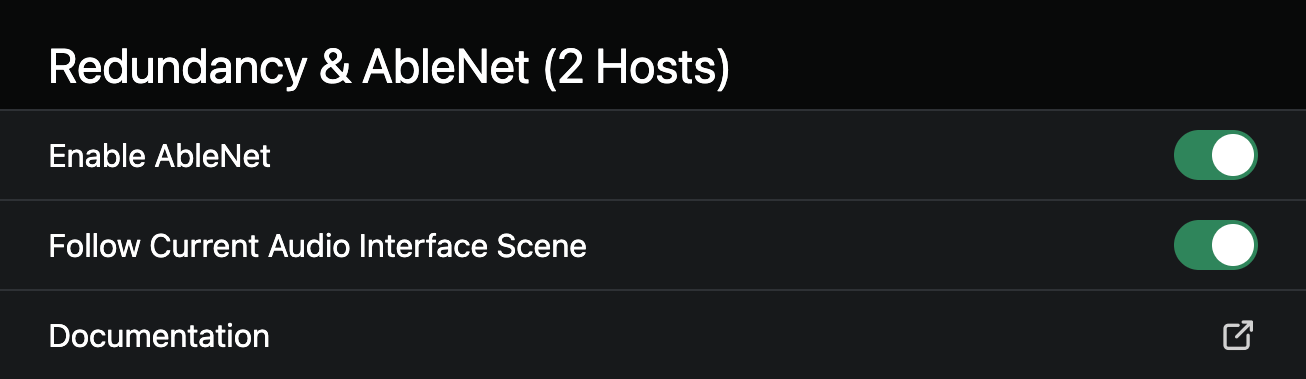
This option can be set on a per-device basis, so if you want your iPad to switch between your computers automatically but want AbleSet on your computers to always show the state of the machine it's running on, you can enable the option on your iPad and disable it on your computers.
The +FOLLOWSCENE Flag
Once you've set up the assignment of your computers to your audio interface
scenes, you can use the +FOLLOWSCENE or +FS flag on track names to only
unmute them on the computer that is currently selected on your audio interface.
This could be useful if you only want the selected computer to send MIDI to a connected mioXM or mioXL interface to avoid your devices receiving duplicate MIDI messages, for example.
You don't necessarily need AbleNet to be enabled for this feature to work.
Hiding Audio Interfaces
You might not always want to see all connected audio interfaces in AbleSet. To hide specific ones, open AbleSet's settings page and scroll to the "Audio Interfaces" section and click the toggle next to the audio interfaces you'd like to hide.
Interface Tips
iConnectivity
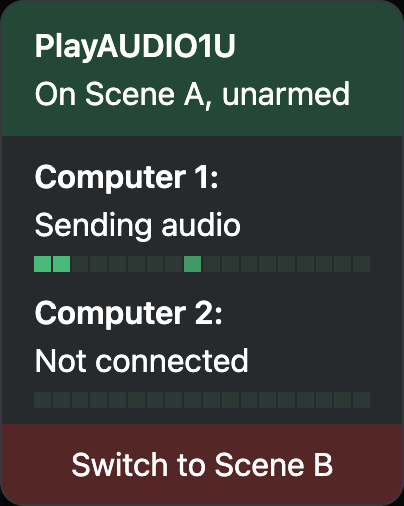
AbleSet communicates with iConnectivity audio interfaces via MIDI using the USB connection. This happens automatically as soon as it is connected.
When connecting two or more iConnectivity interfaces to your computer, please make sure to give them distinct names in Auracle and then re-connect them. Otherwise, AbleSet might have trouble correctly communicating with all interfaces.
DirectOut
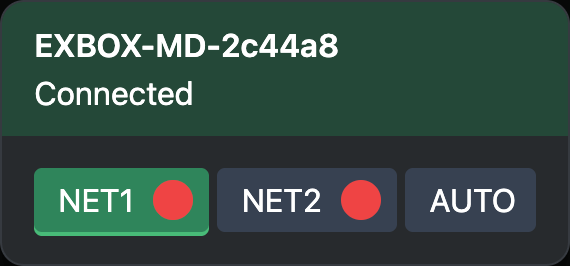
AbleSet communicates with DirectOut interfaces via Ethernet. They are automatically detected as soon as they're on the same network as your computer running AbleSet.
DAD
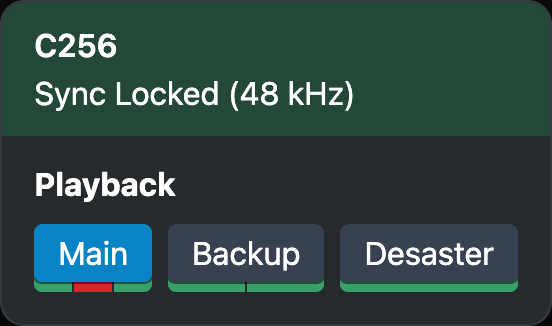
DAD interfaces are automatically discovered on the network. Currently, AbleSet doesn't support communicating with them using Thunderbolt.
Below each preset you see the status of all monitored inputs. Hover over it to see which input each bar represents.
Clicking on a preset locks its selection, which turns the background blue. Clicking the preset again removes the lock and the device switches back to the automatically selected preset.
By default, AbleSet shows all enabled presets from your DAD devices, but you can
hide presets by adding +HIDE to their name, e.g. Keys +HIDE. If you have a
long list of presets and only want AbleSet to show a few, you can instead add
the +SHOW flag to the ones you want to see, e.g. Playback +SHOW +MAIN. AbleSet
will then hide all others.
By default, the scene toggle button toggles all shown presets between set 1 and
2, and if one or more presets is not on set 1, the indicator becomes red. If
you'd like AbleSet to only take specific presets into account while still being
able to see and manually control others, you can add the +MAIN flag to their
name.
This page was last modified on 2026-05-31